Add a new column to tickets list and form
Here you can find how to customize ticket form in your ticketing system with adding new columns to it.
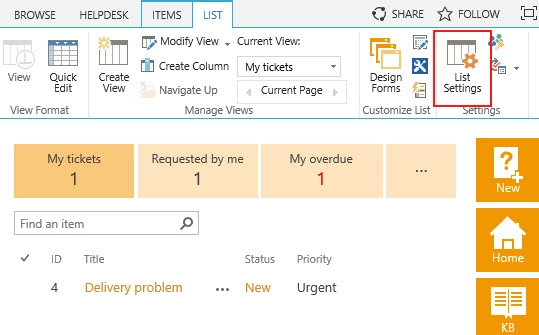
First of all, head to ticket list settings.
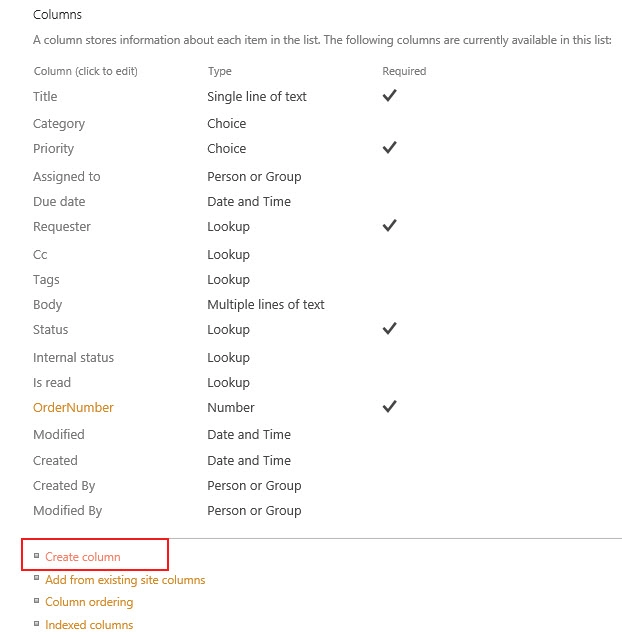
Select ‘Create column’.
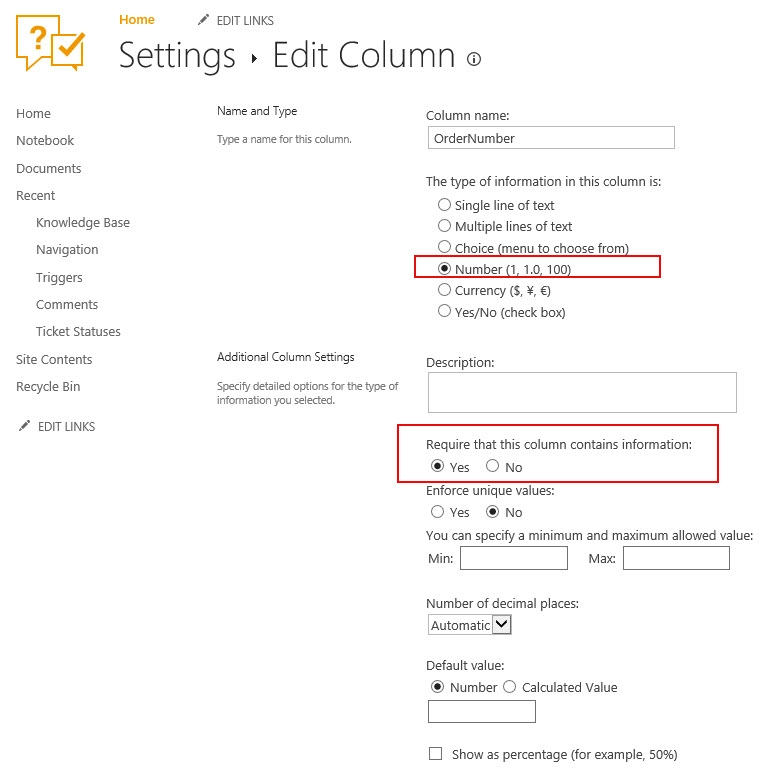
Choose column type which goes along with your task and decide if the information in this column should be optional or required.
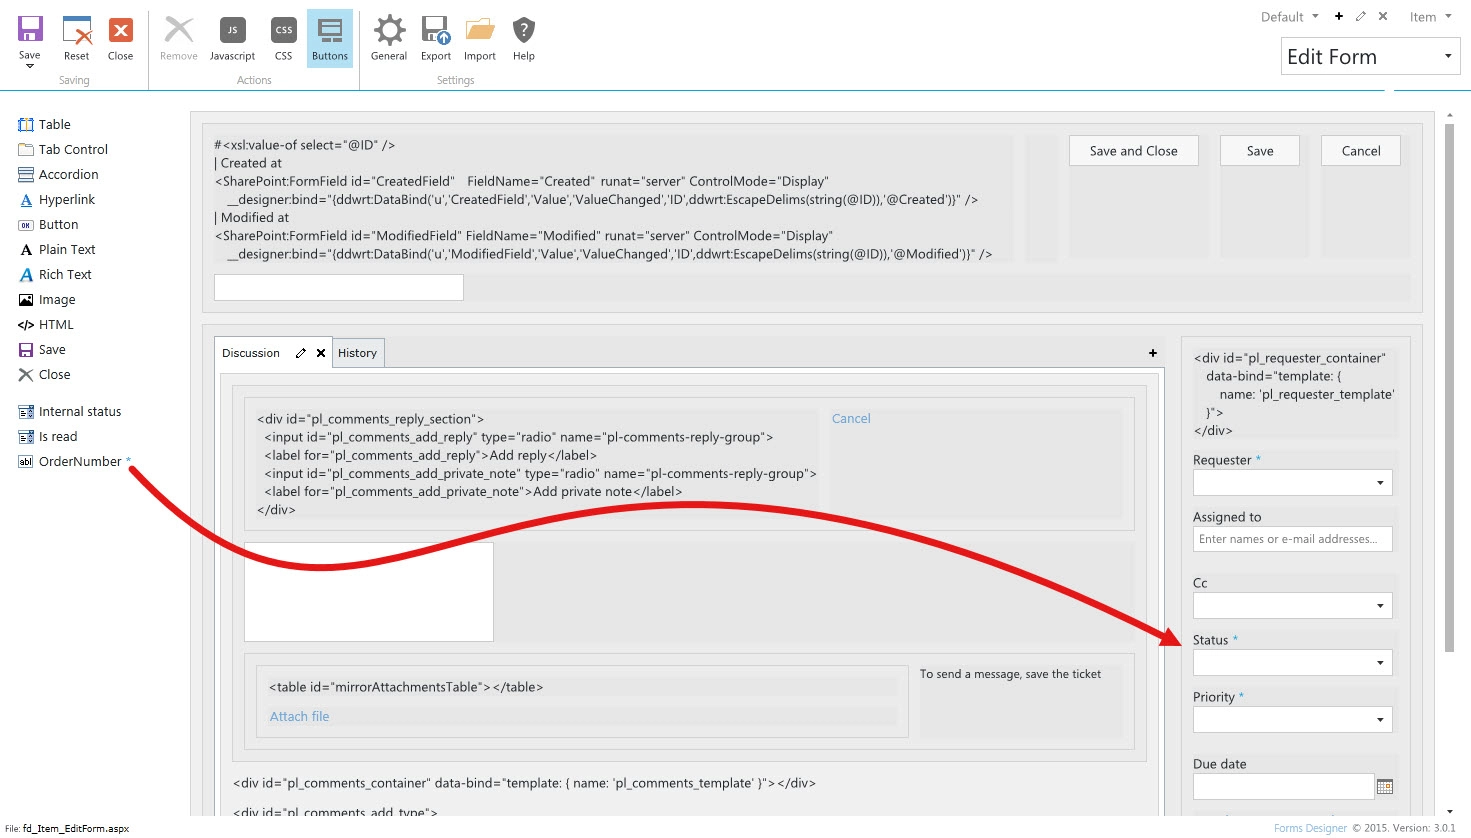
To put the column into action, place it on the ticket form with the help of SharePoint Forms Designer for Classic UI. You can find more information about forms customization in this article.
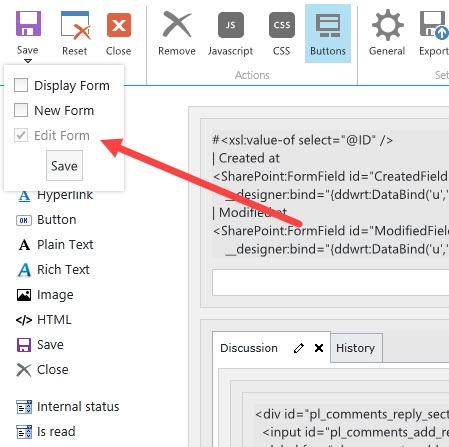
Finally, you can place the newly created column in three types of forms — Edit, New, and Display. Choose one of them and drag your column from left-side bar to template of the ticket form.
It’s important to save each type of form separately otherwise, a pattern of editing form will be applied to others.
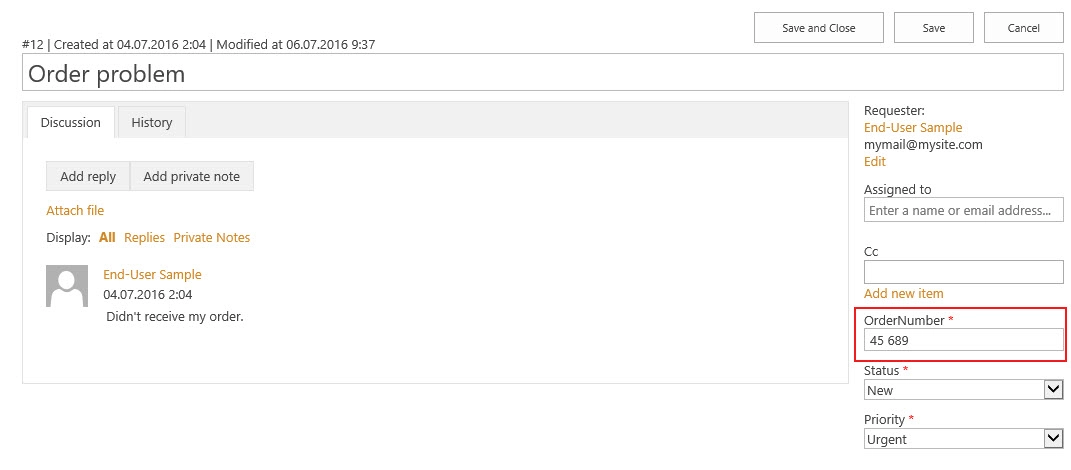
This how your ticket’s editing form will look like: